|
Small craft. Simulation of Marker
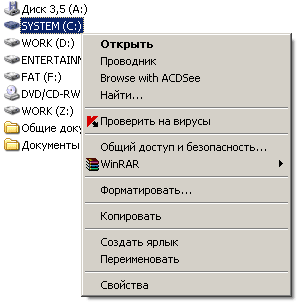
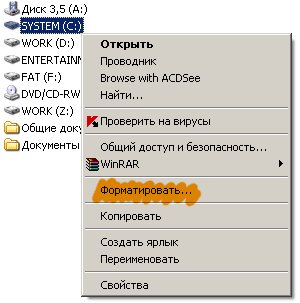
Quite often it is necessary to show you some pictures and draw his attention to certain parts of the image. For example: you need to clearly stillzat in the screenshot of the window graphic editor, where the tool «brush»; or scanned images (newspapers, magazine) to allocate some of the text.
The task can be solved in several ways: to draw the desired accountastok oval, put his pointer, invert colors, etc.
I suggest another, more beautiful way. The result of the application which is similar to the result of ordinary paint marker on ordinary paper.
Attack them to the practical part. To simulate the effect of creating a marker, I used Adobe Photoshop.
1. Open (or create) the working image in which the need to allocate.
 lign: justify; "> 2. Go to edit mode« Quick Mask ». Hotkey: Q
3. Take the brush, set it to the appropriate shape and size, and just Draw a picture of the area to be allocated.
 4. Exit the mode «Quick Mask» and invert the selection is received (CTRL + SHIFT + I)
5. Set the foreground color black and color backplan, such as orange. 
6. Select the menu command «Image> Adjustments> Gradient Map ...», and click OK.
& nbsp;
7. Remove the selection (CTRL + D). All the image is ready!
 |